Sunday, January 29, 2012

Bakerella Made Me Do It!

Hello Loves,
I think even those of you who don't know me personally have figured out how much I love to bake.  I live to bake really.  I've enjoyed baking since I can remember but it was one of my close friends who turned me on to a blog that (all dramaticness aside) changed my life.

That blog was Bakerella's.  I should just say I LOVE her.  We even had the pleasure of meeting her.  She is so stinking sweet and had such a rough year.  She is truly an inspiration from baking to giving to smiling through the hard times.  If you haven't visited her blog yet, DO IT.  You can thank me later <3.

Finding this blog helped unlock my baking creativity and opened the door to my blogging.  I started a photo album on facebook showing her delicious recipes.  Lifetime goal:  Bake everything on her blog.  Can I do it?
Not all of the pictures are great or even good lol but everyone starts somewhere!

Pillow Cookies

14 Layer Cake


Oreo Truffles

Puffins
Cupcake Pops
Soda Fountain Cupcakes
Meeting her was
so awesome!


Coraline Cookies
Sweetest Burger

Mini Pie Pops
Banana Pudding

Red Velvet Cake

Whoopie Pies
Nutter Butter Truffles
Cheesecake Pops

Thursday, January 26, 2012

A Cure For Anger

Howdy Loves!
Stress seems to be running rampant among my family, friends, coworkers, and general population.  Tempers are short and feelings are sensitive which is a bad combination.  Recently a situation at work left me in tears and full of frustration.  Now everyone has a favorite outlet for anger.  Many smoke, some drink, and others partake in physical activites (whether it be exercise or breaking things).  Me?  I bake.

That is right any of you slight me you'll not end up with a black eye but a plate of cookies.  OK maybe you won't get the cookies but someone will end up with goodies.

On my way home this particular day I stopped get a few things and browsed the baking aisle unable to decide on which delicious treat to make to soothe my rage!!! Am I being a little dramatic??  Perhaps, but I'm allowed right?  I knew for sure I wanted something chocolatey.

Cake, brownies, cookies, muffins, pie, or even pudding??? AHHHHHHH too many choices.  My indecisive nature mixed with my overwhelming desire to go home I purchased an arm full of options and sat them out on the island when I got home.

*Light Bulb* TRIFLE!!!  Thus my Triple Chocolate Inner Peace Trifle was born.  

I like to think Sandra Lee would be rather proud of me considering this bowl of delicious heaven was truly Semi Homemade.  That being said please not this recipe could EASILY be 100% homemade.

Brownies
Chocolate Pudding
Cherry Pie Filling
White Chocolate Pudding
Whipped Topping
Trifle

Triple Chocolate Inner Peace Trifle
1 Batch of Brownies (box mix or homemade)
1 Can Cherry Pie Filling
1 Container Whipped Topping (I get the large container to use the left overs a Oreo dip)
1 Box Chocolate Pudding Prepared (I use Half & Half instead of milk)
1 Box White Chocolate Pudding Prepared (I use Half & Half instead of milk)

Once all ingredients are prepared and set get yourself a nice big glass bowl. Really you could use any bowl but don't you want to see all the pretty layers?  For the best cleanest layers place the pudding and whipped topping in piping bags and pipe nice neat layers.  I didn't do this and was plenty happy with my results.  I am going to change the order of the layers for you then you will see in the picture since the white chocolate pudding kinda ran together with the whipped topping.

  1. Cut up half the brownies and layers them in the bottom of the bowl.
  2. Cover the brownies with the white chocolate pudding.
  3. Cover the pudding with the can of cherry pie filling.
  4. Cover the cherries with the second half of the brownies cut up
  5. Cover brownies with chocolate pudding.
  6. Cover pudding with whipped topping.
  7. Let sit over night (best made a day in advance)
  8. Enjoy!


Wednesday, January 25, 2012

I Hope Your Valentines Day is...

 Evenin Loves,
Its a rainy mess today and what better to do then craft? (If you answered with anything other then bake or be awesome GET OFF MY BLOG...just kidding...sort of).  I've been making a lot of ribbon wreaths lately and finished one up for one of my favorite people.  I can't say who or what it looks like because it is a surprise but I thought I'd share my Valentines day wreath I made.


Just for some fun facts on me I despise Valentines day.  Not because of all the lovey dovey couple crap that we must endure for a good two weeks leading up to it; or even the ridiculous inflation on flowers, candies, and adorable teddy bears.  I despise it because it shouldn't take a holiday for you to treat the one you love.  That should be an everyday thing and remembering to buy candy once a year doesn't say love.


That being said  I love pink, red, and white and the delicious treats people make around the holiday so I long ago decided to start celebrating things I love on this day instead of people.  I show people love 365 (366 this year).


The wreath I made for Valentines this year is probably one of my favorites I've ever made.  I'm considering posting a how-to on these wreaths but haven't found the time yet.

Yesterday I got a package in the mail from Lucky Cupcake containing my new favorite bow.  It is the perfect accent to my new wreath!!


It's Jem!


...Truly Outrageous!!

Monday, January 23, 2012

Dessert Is Served Part 2

Howdy Loves
So last night I posted a quick and easy dinner that is super yummy; and promised to post the fabulous dessert I made to go with it.

I decided since its a thick and hearty dinner to make a bite sized dessert.  I generally bake at least once a week and when the holidays hit so did stress and illness so my baking took a back burner to everything and it feels great to be back!  One of my father coworkers attributes her weight loss to the fact that I stopped baking; and said I was an evil evil person when she tasted these...they are her new favorite.

With all that being said I oopsed the recipe...and it was wonderful.  I'd love to say "Yeah I totally meant for that to happen"  I didn't and can't lie to you.  You'll see what I mean.


My little helper.


Peanut Butter Cheesecake Bites
Adapted from Created by Diane

2 (16 oz) package refrigerated peanut butter cookie dough (you could even use your favorite homemade dough)
 8 oz Cream Cheese (room temperature)
 3 3/4 cups Powdered Sugar
2 teaspoon Vanilla Bean Paste
1 pkg Milk Chocolate Chips (omit if you make smaller cookies)

  1. Roll 1Tbsp of cookie dough into a ball for each cookie.(This is where my booboo came in if you'd like them to be simple and small like the originals you'll need to make them 2 tsp each ball and half the filling ingredients.)  
  2. Place balls of dough into paper liners mini cupcake pan. 
  3. Make a indentation into each ball of dough with a flour dipped mini rolling pin or the back of a measurement teaspoon.
    Beat cream cheese with powdered sugar. Stir in vanilla. 
  4. Place filling into a piping bag, cut off edge of bag. Fill to the top edge of each crust.
  5. Bake at 350 degrees for 9 minutes or until cookie tested with tooth pick comes out almost clean.
    Let cool before removing from mini cupcake pan. (If you made the smaller versions you are done.  Enjoy!)
  6. Melt chocolate chips in microwave and transfer to plastic bottle.
  7. Fill the cooled cheesecakes with chocolate and stick in fridge to set.
  8. Keep left over in fridge and best to let them set out for 5-10 minutes before eating to let chocolate soften slightly.

Sunday, January 22, 2012

Dinner Is Served! Part 1

Evening lovelies!
Here in the attic we don't just make delicious treats (though we are rather good at it); we also cook delicious dinners. Being that I do a lot of crafting on top of baking mixed with a rather active job dinners don't generally get the attention they deserve. The quicker and easier the better. So I'll going to try and add some yummy dinners that are super simple to the blog. A lot of crock pot recipes coming your way because lets face it throw it all in a big bowl and forget it for hours...total no brainer. We have literally worn the knob off our crock pot. First up is a delicious Italian Chicken over pasta. I melded together two different recipes but seemly only saved one of the sites. If anyone reading this recognizes it enough to know the second site please tell me. Love to link back to them and give credit. Until then the first site for Italian Chicken.

Italian Chicken over Pasta 
2 Large or 4 small chicken breasts
1 pkg Italian Dressing Mix
1 Can Cream of Chicken
1 Can Cream of Mushroom
1 Can Chicken Broth (I used Swanson) 4 oz Cream Cheese.
Wide Egg Noodles

  1. Pour 1/3-1/2 cup of chicken broth in a cup (doesn't have to be exact). Pour the dressing mix in broth and whisk together.
  2. Pour remaining broth in crock and add both cans of soup.  Mix together.
  3. Place chicken in soup and pour dressing mix over chickens.
  4. I cooked for 2 hours on high then 4 hours on low.  The chicken came out amazingly tender but you could also cook it for 8 hours on low or 5 hours on high.
  5. About 30 minutes before you eat starts cooking your noodles.  While your water is heating up shred or cut up your chicken and return to crock and also add cream cheese.
  6. Once your cream cheese has melted in and your pasta is ready spoon a heaping helping of chicken over it and enjoy!  If your sauce is too thin add some more cream cheese to help bind it together.

Tomorrow I'll be posting part 2 which will be the dessert we had with dinner!

*Doggy Update*  Still no sign of our precious puppy but praying hard that she is at least safe and happy where she is at.

Saturday, January 14, 2012

Did Someone Say Treasure??

Howdy My Loves!
So I've been promising my famous hidden treasures and TA DA here they are!!
These are buttery and soft...and stuffed with cherries...and dipped in milk chocolate.  Did your taste buds explode?  Good!  The first time I made these it took me nearly an entire day but I've made them the last 6+ years for the holidays so it is safe to say I've made hundreds of these.  They get quicker with practice.  My father having a sweet tooth like me frequently eats treats right out of the oven; and because of this we have discovered the undipped cookies fresh out of the oven are JUST as good as the dipped ones.  I recently read a similar recipe using caramels and instead of dipping in chocolate dusting with powdered sugar.  Definitely going to have to explore that this year. Anyways, without further ado...


Cherries!


Roll them into little balls
Enjoy!

I like mine with a large glass of iced milk!!


Hidden Treasures
Crisco Cookie Collection 1989

Cookies
2/3 C Butter Flavor Crisco
3/4 C Sugar
1 Egg
1 Tbsp Milk
1 Tsp Vanilla
1 3/4 C AP Flour
1 Tsp Baking Powder
1/2 Tsp Salt
1/2 Tsp Baking Soda
48 Maraschino cherries, well drained on paper towels

Chocolate for Dipping
2 C Semi Sweet Chocolate Chips (I use Milk Chocolate)
2 Tbsp Butter Flavor Crisco

Preparation
  1. Heat oven to 350 F. (My oven is a little hotter so I set it on 345F)
  2. Cream Crisco, sugar, egg, milk, and vanilla in large bowl at medium speed of electric mixer until well blended.
  3. Combine flour, baking powder, salt, and baking soda.  Beat into creamed mixture at low speed.
  4. Press dough in very thin layer around well drained cherries. (I use a small cookie scoop and it is the perfect size.  Also, have a small bowl of flour out to keep on your hands.  Helps the dough stop from sticking.  Once you have scooped the dough out place it in the palm of your hand and use 2 fingers from your other hand to flatten it.  Then cover cherry and roll into a ball).  Place 2 inches apart on ungreased baking sheet.
  5. Bake for 10 mins.  (For super soft cookies bake 10-11 minutes for more done cookies leave in 12-14 minutes).  Cool one minute on baking sheet.  Remove to cooling rack.  Cool completely.
  6. For Dipping Chocolate, melt chocolate and crisco on very low heat or 50% power in Microwave. Stir.
  7. Tranfers chocolate to glass measuring cup.  Drop one cookie at a time into chocolate.  Use fork to turn.  Cover completely with chocolate.  Lift cookie out of chocolate on fork.  Allow all excess to drip off.  Place on wax paper-lined baking sheet.
The book also recommends white chocolate which we didn't care for and different toppings to sprinkle on.  You can try white chocolate shavings, chopped pecans, chopped walnuts, sprinkles, sanding sugar, or caramel drizzles.

Thursday, January 12, 2012

Little Debbie Eat Your Heart Out

Hello Loves,
I've been so excited to share the recipe; it is simply delicious and just as good if not better then the little Debbie version. OATMEAL CREAM PIES!
Seriously wish I had some right now.  I bet they'd be divine with hot chocolate!
margarine, sugars, molasses, vanilla, and egg
Cream it all together

flour, salt, baking soda, and cinnamon

Whisk together dry ingredients

Add dry to the creamed mixture
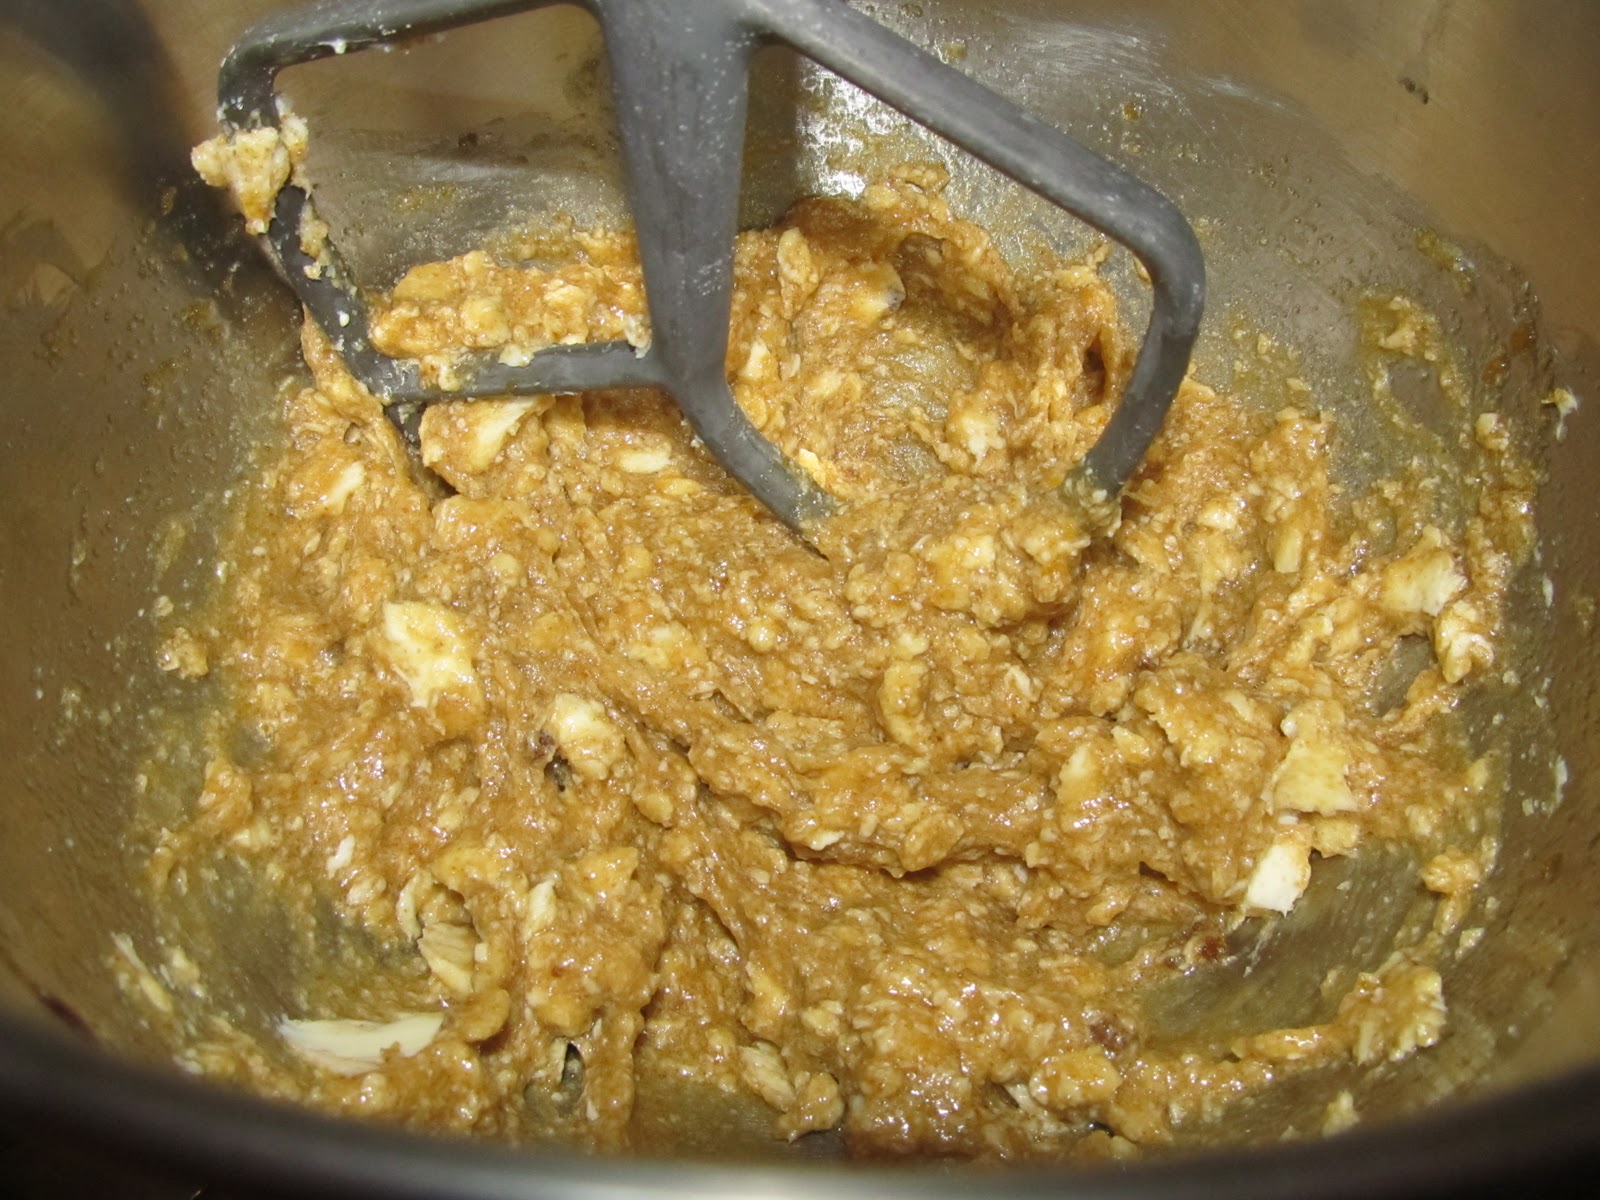
Add oats
Drop my scoop fulls on cookie sheet
The perfect time for me was 7 minutes DO NOT OVER BAKE


Dissolve salt in hot water


If you slightly over bake the pies NO FEAR they are still delicious just not as soft

marshmallow cream, shortening, powdered sugar, and vanilla

Mix it together

Add cooled salt water and mix well

Assemble your delicious pies

Enjoy!
Oatmeal Cream Pies
from Nosh With Me Via The Craving Chronicles
Cookie Ingredients
1 cup margarine
3/4 cup dark brown sugar
1/2 cup sugar
1 tablespoon molasses
1 teaspoon vanilla
2 eggs
1 1/2 cups flour
1/2 teaspoon salt
1 teaspoon baking soda
1/8 teaspoon cinnamon
1 1/2 cups quick oats
Cream Filling Ingredients
2 teaspoons very hot water
1/4 teaspoon salt
1 (7 ounce) jar marshmallow cream
1/2 cup shortening
1/3 cup powdered sugar
1/2 teaspoon vanilla
Preparation
1. In large bowl, cream margarine, sugars, molasses, vanilla, and eggs.
2. Combine flour, salt, baking soda, and cinnamon.
3. Add to the creamed mixture; mix in the oats.
4. Drop dough by TBS on ungreased sheets. (I used a small cookie scoop.)
5. Bake at 350 degrees F.
6. Bake for 10-12 minutes,or until just starting to brown around the edges. I recommend 7-8 minutes.
7. They will look moist; don’t overcook.
8. While the cookies bake prepare the filling.
9. In small bowl, dissolve the salt in the hot water.
10. Allow this to cool.
11. Combine marshmallow cream, shortening, powdered sugar, and vanilla in med bowl; mix on high until fluffy.
12. Add the cooled salt water and mix well.
13. Spread filling on flat side of one cookie, press 2nd cookie on top.


I hope you enjoy them as much as I did!